
Edit note from the Caustice of Today™: [[This was originally posted to my patreon as exclusive content on April 29th, 2020. This version has been cleaned up a little for clarity, but I have attempted to keep the "voice" of the post the same. Images will come before the text explaining what’s happening in them.
Oh! Also as an update, all the masks are still being used, the pony one is the only one that has needed any repairs or changes, but this was expected based on wear habits of the user. I had to loosen the side channels, and the backs of those channels were covered/reinforced. I also completely replaced the nosewire with a different type. My mom reports she loves hers, still uses them, and it was the only thing she mentioned when asking about seasonal gift giving.
So uhh...thanks Past Me™ for this write up!]]
Hoh boy, these Shelter-in-Place times have been..."fun"...
One of the things I've been doing during my time is making masks for my family. Only 3 masks are used for the photos in this posts, because I had made mine first beforehand to prototype some ideas. In a regular scenario, your prototype wouldn't have to be used like this, but I don't really have the fabric to spare so....
During this project, I realized a lot of things I should have done instead of what I did, even after prototyping, and I will point out those realizations where relevant. This isn't really a guide or tutorial, merely a documentation of my process. I don't encourage anyone to follow this really haha.
My original design was 4 layers of fabric, 2 plain cotton and 2 cotton-based flannels, with a pocket in between them for access to stick an additional filter inside. Think like a cut piece of HEPA or furnace filter for insertion. This did not pan out so well in the end, and the pocket was scrapped entirely for a number of reasons that all boiled down to "I don't have time to redraft for this."
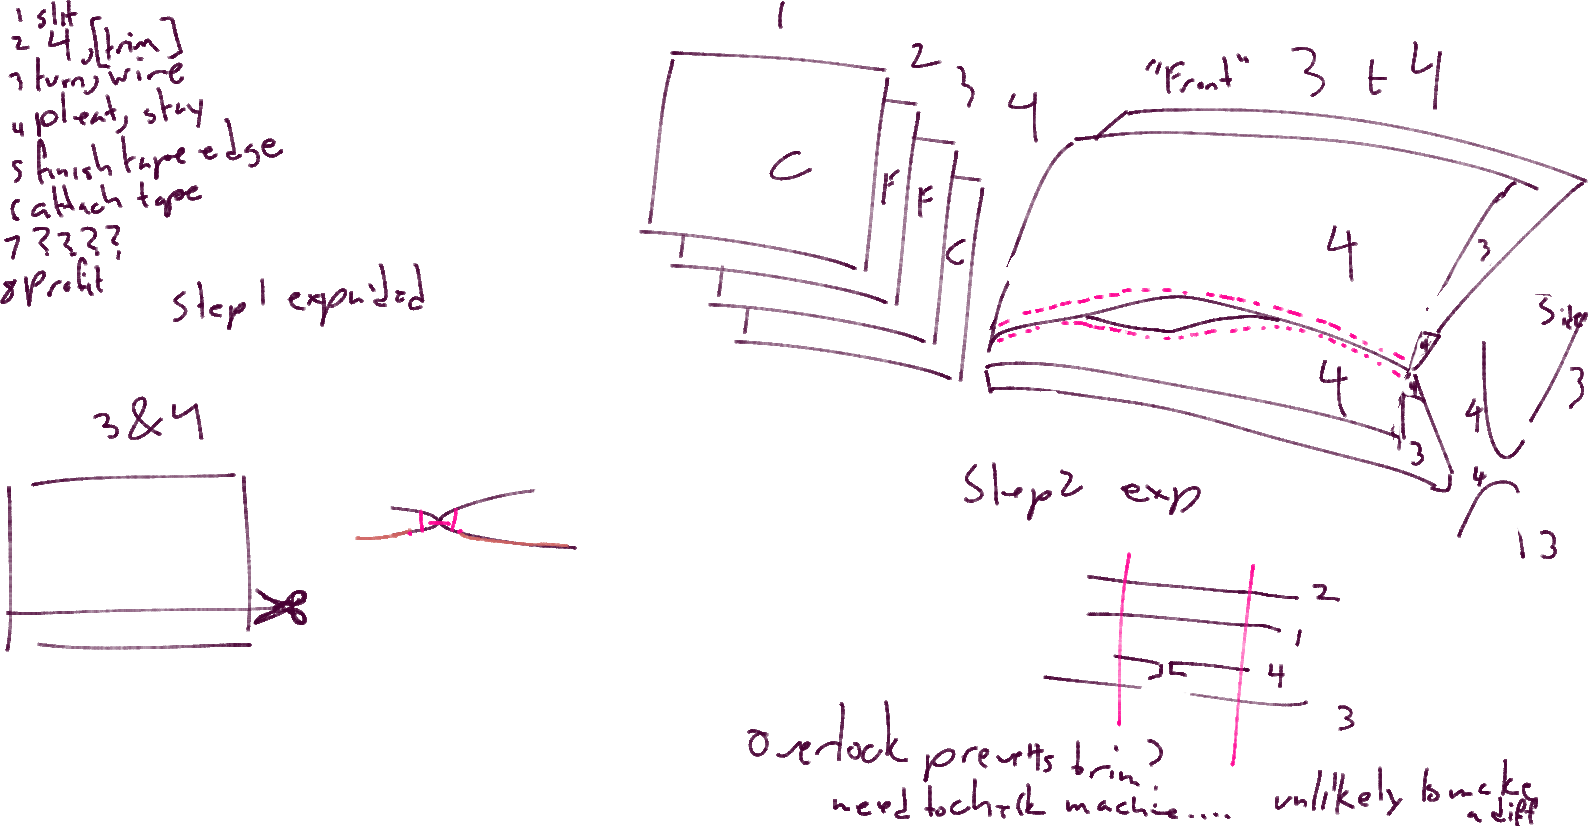
But first, a quick breakdown of that plan. The image above how I had drafted the pocket. The numbered steps explain a quick rundown of the plan. The illustrations on the right were how to sew the back 2 layers of fabric to get a nice pocket, while keeping the flannel hidden in the back. At the time, I didn't want the stitched line combining the two to line up with the opening. In the end though, it wouldn't have mattered, as I made the opening extend to the edge of the mask instead. This is why there is the weird off-centering and notes on where the trims of fabric would end up. The bright pink is where I thought stitches would/should end up. This part exists on my mask, but what I hadn't accounted for was the interlocking pleats of all 4 layers, making this unwieldy if something was inserted.
So, changes were made, and progress on the other 3 masks began.
All my drafts, measurements, and changes originate from this pattern here, from the [edit: now defunct] makemasks2020.org group. You'll sometimes see the patterns and fabrics change throughout this post, and that's because I am peak derp and sometimes forgot to take images until I only have one mask left per step. And of course, it's not always the same one haha.

I marked 4 pieces of fabric for each mask using a cardboard stencil and tailor's chalk. Two of these squares are woven cotton for the outer layers of the mask, while the other 2 are a cotton based flannel for internal thickness and filtration.
[Note if you plan to wear these for extended amounts of time, you might consider reducing the inner layers or making the inner 2 plain cotton instead of flannel.]

Once I was satisfied with the chalk lines, I cut out the pieces with a rotary cutter and an acrylic ruler. I fell in love with this tool, and I'm never looking back if I can help it.
Also on a related tangent: when working on these, I tried to avoid using pins as much as possible as a preventative to making holes in the fabric. This is what we call foreshadowing.
Anyways.
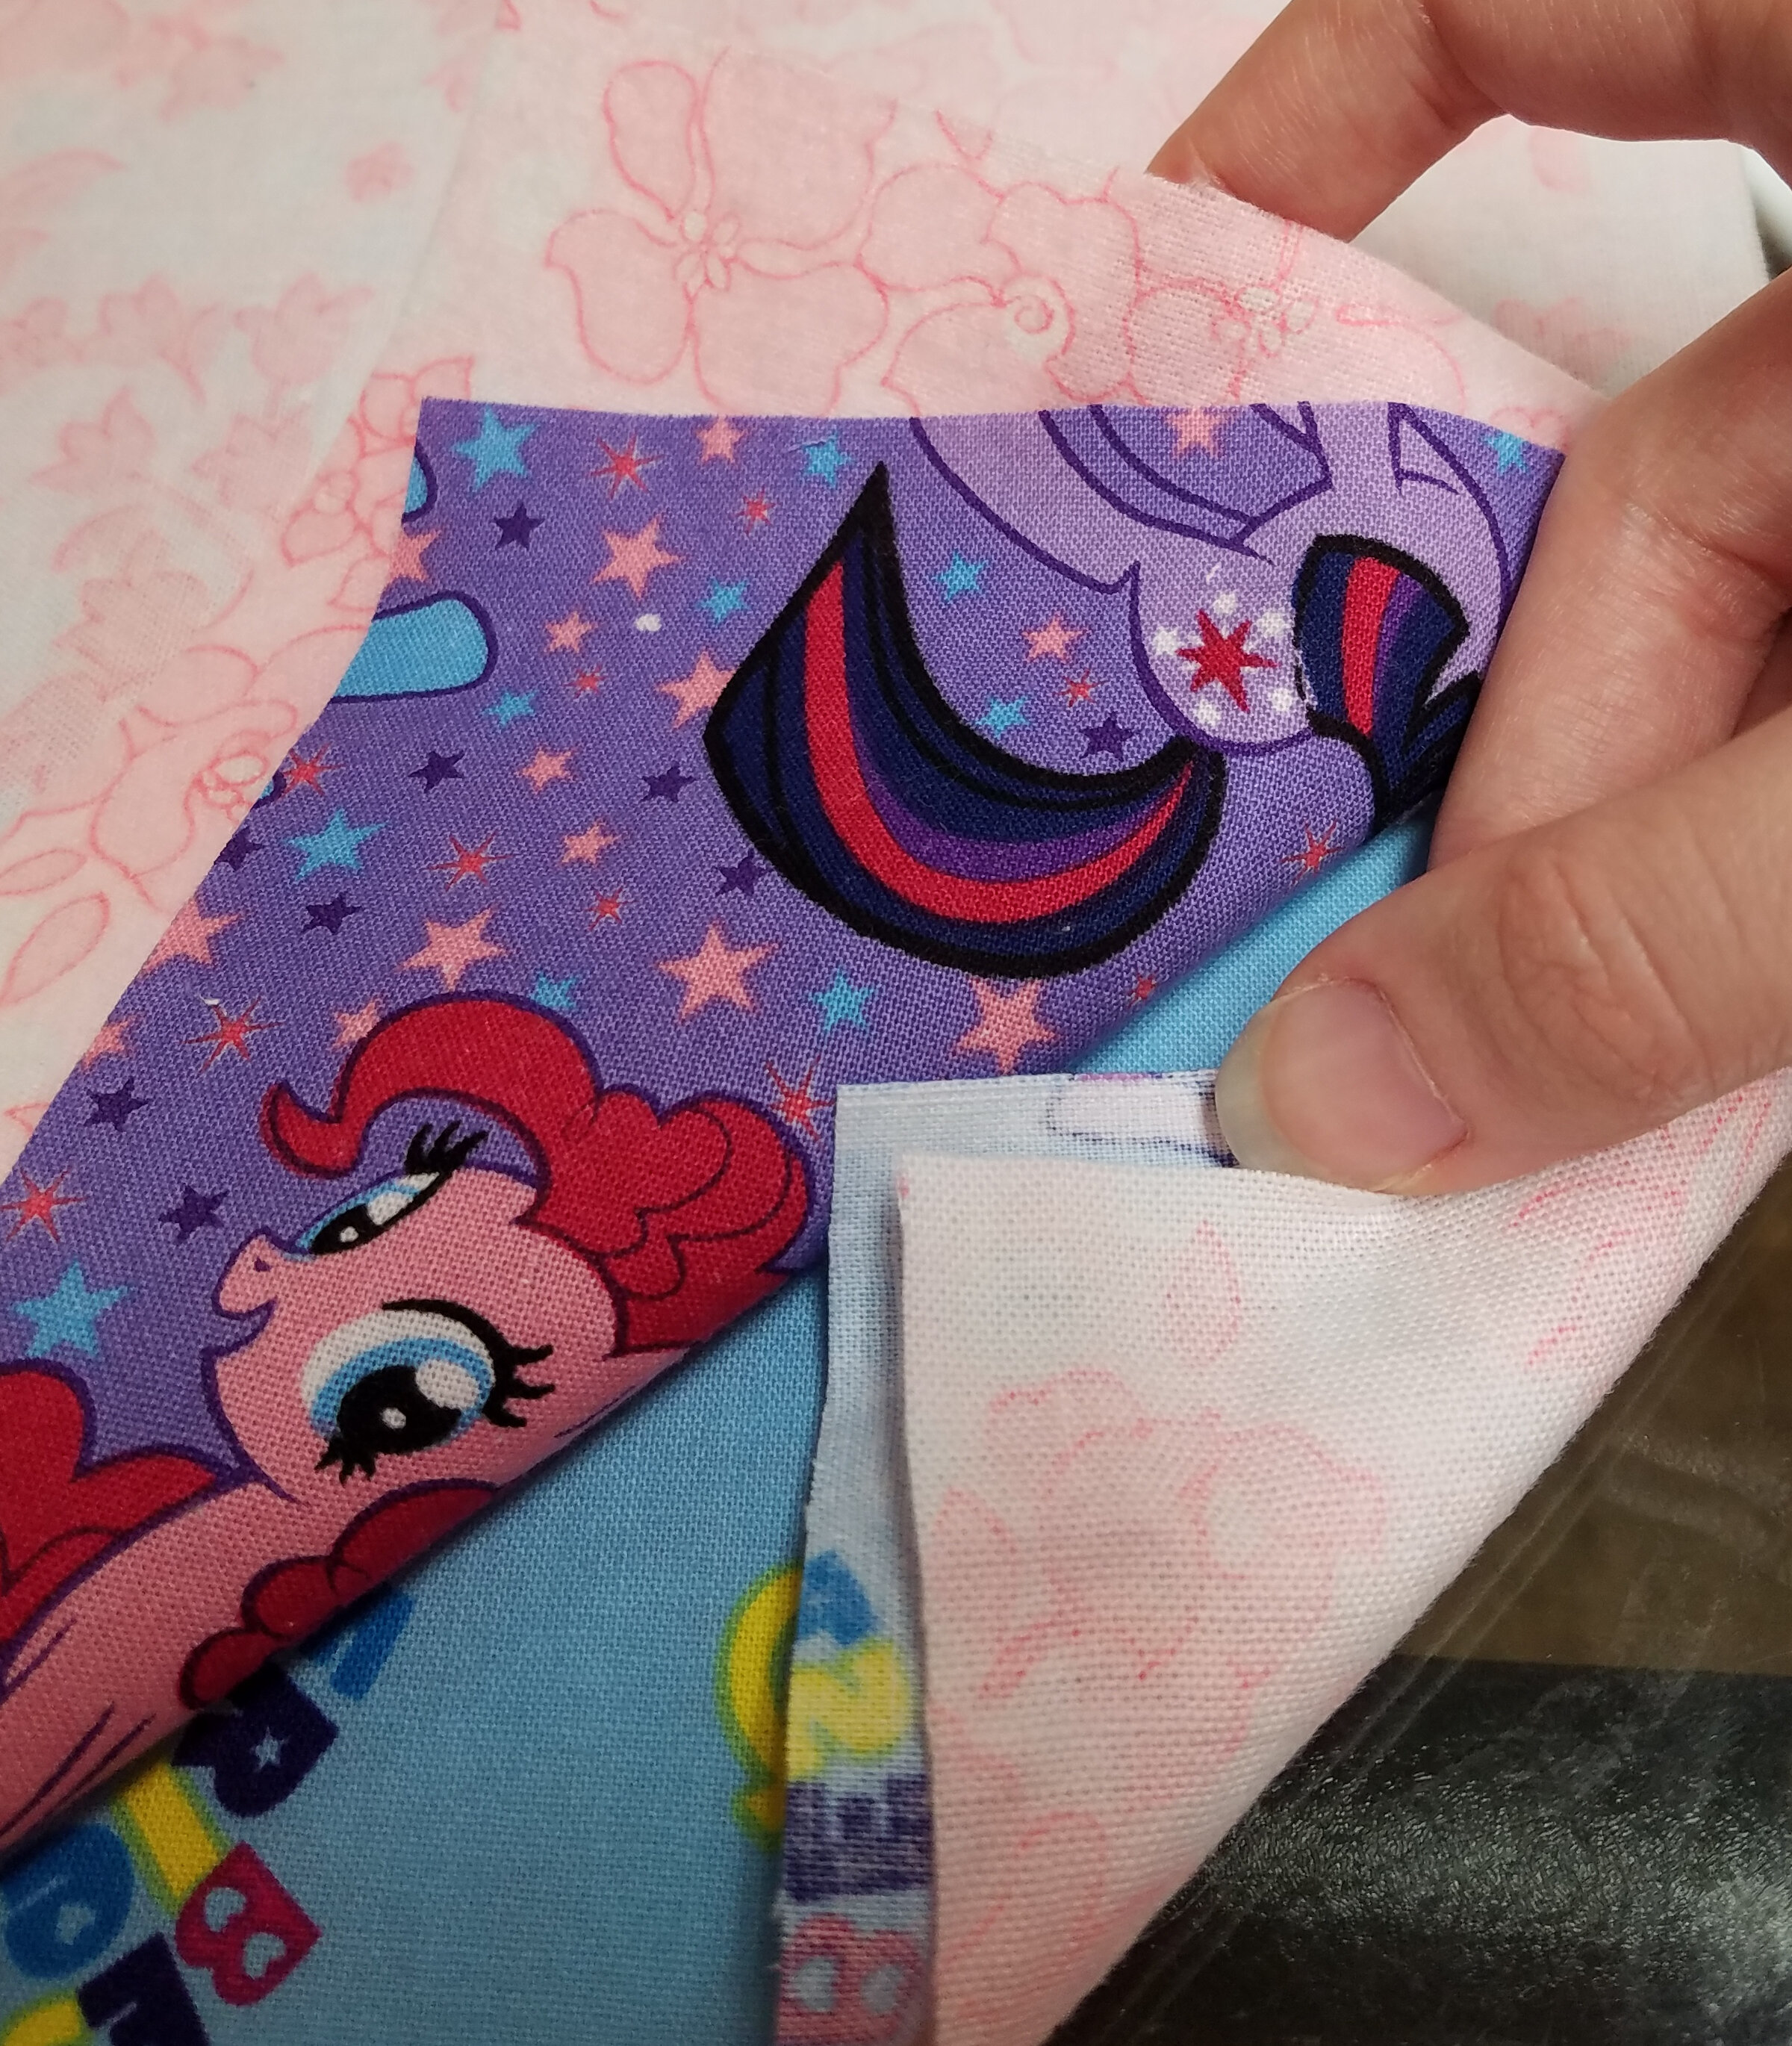
Layer your squares so that you have the 2 outer most layers right sides together, then the 2 flannel layers are right sides inwards around them.
Like a reverse sandwich.

Once all of the masks were made into said sandwiches, I moved onto...

the Serger/Overlocker!
I used this machine to cut and finish all 4 layers together at the top and bottom of the masks. On my own prototype, I had gone around all 4 edges of the squares in one go, sealing them all together. Because it had the opening for additional filters, I was be able to turn it through that hole. So easy side seaming. But since the pocket was scrapped, the sides remained open on the new ones.

Finishing the masks in this way gave them this edge with a tail that needs to be tucked in. Some people manage to do it while they are working, but this was basically my first time using the machine. I had done some test sewing of course, but that's not really the same. ANYWAYS, to tuck the tail in afterwards, you use a darning needle and thread it through its own hem. However, at the time I could not find my darning needle so I went into the threads backwards with the eye to avoid penetrating the fabric on accident. [I have since found it, huzzah!]

Because of the thickness of the tail, I used a needle-threader to avoid having a migraine. the one I used came with the serger, and is a simple metal loop that tapers at one end. I'll probably use it more and more...

Once all the tails are tucked in (4 on each mask) the ends look like the picture above. Afterwards, I turned the masks right side out. Since only the top and bottom are closed, it was a fairly simple turn. BUT
They needed a pressing to lay flat.

Like so.

Next, we needed to insert the nose wire. For these type of facemasks, some form of wire at the nose bridge is needed to have the top of the mask conform and not just let all the air blow up into your eyes.

Mom had kindly sent me a length of gardening wire to use for the masks, the nice thing about this is the plastic coating is slightly squishy, and can be heated on the ends to seal the end of the wire...if you do it right.

Here's where lessons were learned and then unlearned...
For my own mask, I had sewn the channel for the wire while it was in its final place. The presser foot of my sewing machine was not happy with this endeavor, and I struggled a bit, It wasn't the end of the world, and I had no choice anyways. [[I probably could have used something like a zipper foot or cording foot, but I don't have either woops]] With all 4 sides being seamed shut previously, it was the only easy way I could think of at the time. I had repeated this format on the pony mask too. Because of that struggling, when I worked on the next mask, I decided to sew the channel before inserting the wire. However, this proved to be a mistake, because the wire would break through the plastic coating from the friction. This was fixed by re-melting the ends and being careful, but it wasn't fun.

Once the channels were sewn and the wires inserted, I pleated the masks and pressed them with an iron. This is where pins would have been really nice to keep them in place but oh well. I then moved on to tackling the side seams.
My trouble for the sides came from the fact that said side seam is where the tie will rub and interact with the mask. It needed to be durable as it was expected to deal with a lot of friction and tension, while not being too bulky. The tie needed to pulled somewhat easily through. This was also why I had scrapped the side seaming with the serger...but in hindsight it might have been a better solution. [[Honestly, couldn't say either way at this point, having to reopen the sides turning and the wire sounds like a pain]]
After all, there are 4 layers of fabric there, and if you turn the edges inward to seal them, suddenly its 8 layers you are sewing through. PLUS because of the pleats, some spots are already doubling up. Serging made the hem really small and avoidable, but we didn't do that. However the pleating occurs after the serging, meaning that hem also gets pleated and adds bulk anyways. Reflecting at this very moment, it probably would have been best to pleat them early/before the serging, then have it trim and finish said pleats. It could work...
Instead what I did was, in hindsight, really dumb. I made edge covers.

Ahh yes, the bane of my existence in this whole endeavor. The idea was these would be sewn over the raw edges and encase them, but then, in my infinite wisdom I realized that leaves a raw edge on the casing...so their little hems get turned inward too. [[Hindsight says this was probably overdoing it, with how the channel is attached, the casing's edge makes very little, if any, contact with the tie and would have been fine. So I fretted over nothing! yaaaaaaaaaay]]

With this method, I had to catch all 8 [still bulky hahahah] layers at once, blind. This is from trying to pin the little casings to get them to fold. I didn't trust my hands enough to try and iron those.

Goodie, peep how much of the casing over extends... measure twice, cut once kids.
Onto the actual sides. I did the same thing basically for the tie channels, but didn't let it butt up against the side, leaving space for the tie to move.

You want to cut the raw side pieces at least 4 times wider than your tie. Any less, and maybe even if you follow that rule, its the Slow, Painful "Crochet-Hook-and-Rubber-Band" method of getting the tie through for you...definitely not talking from experience nope. Not. At. All.

I quickly ran the side edges through the serger to give them some stability.

Then, I stitched the top and bottom edges for a cleaner finish. These parts would be visible, and I wanted them to look nice.

Like a weird taco, I folded the outer edges of each channel piece inward to meet in the center, folded that in half to enclose them, then gave them all a quick press with the iron.

At the very top and bottom of the channel openings, I used a very thick stitch to give the sides more strength. If I want these to last somewhat reliably, the extra stitching secures the closure for much longer. Straight stitches aren't as strong. [[As a testament to that, those stitches are still there and intact on the pony mask today. I have no regrets about that stitching decision]]
With these channels too, I also did the "stitch all the way through both sides at once blind" method. There's a regular attaching process that happens frequently in the sewing world that's stupid similar to this called Binding, and it uses something called bias tape. I don't know why it has the "tape" part as its just fabric cut and folding in a certain way but *shrugs* [[Tape does not mean adhesive, this is a historical term, etymology n stuff]]
Anyways, binding with bias tape has you sew down one side, then fold down the other and sew it down separately. Depending on if you have single or double fold tape it will change the look (in this case my tie channels behave like a really loose double fold bias tape as far as shape is concerned).
In woven fabrics, you have the straight grain and cross grain. They have different amounts of stretch, due to how woven fabrics are made. The bias is the 45degree angle on these woven fabrics. It has the most stretch, and if you cut strips of fabric at this angle, string them together, then fold the sides into the middle, you get bias tape.

This is exactly what I did to make the ties of the masks. Some of the quilting queens out there will have bias tape makers, which are glorified cowbells used to guide the strips for easy folding/pressing while making the tape. I did mine by hand, in the snow, up-hill, both ways, I don't need no cowbell! I hear it builds character or something....
ANYWAYS, after the channels are connected and the ties are finished, the masks were done! The top image is a finished one with the pleats pulled apart since it had just been put through a test fitting. One thing I'm not so sure about with this design is that the chin is a little loose. I might just need to add a dart and then it'd be all good. [[I have not tried this honestly, mostly I just hold my jaw a certain way, which might all be ineffective anyways]]
Sewing is fun. Frustrating, but fun.
Thank you all for your patience while I screamed at string!